Conda
Conda
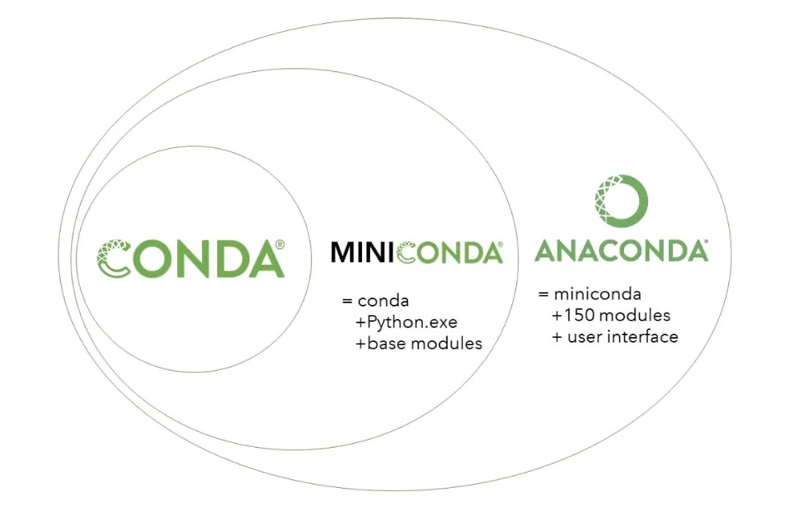
Conda is an open-source package management system and environment management system that runs on Windows, macOS, and Linux. Conda quickly installs, runs, and updates packages and their dependencies. Conda easily creates, saves, loads, and switches between environments on your local computer. It was created for Python programs but it can package and distribute software for any language.
新电脑pycharm+conda处理风云四号云图,一直对h5py,甚至对matplotlib.pyplot报错。无论什么办法(重装、版本替换...)都无效,最后一招:重新建议一个新的环境:操作。
安装过程
1、下载安装包
anaconda的官网地址https://www.anaconda.com/products/individual
清华源anaconda、 miniconda 的过往版本
https://mirrors.tuna.tsinghua.edu.cn/anaconda/archive/
https://mirrors.tuna.tsinghua.edu.cn/anaconda/miniconda/
选择适合自己的版本后,用wget下载
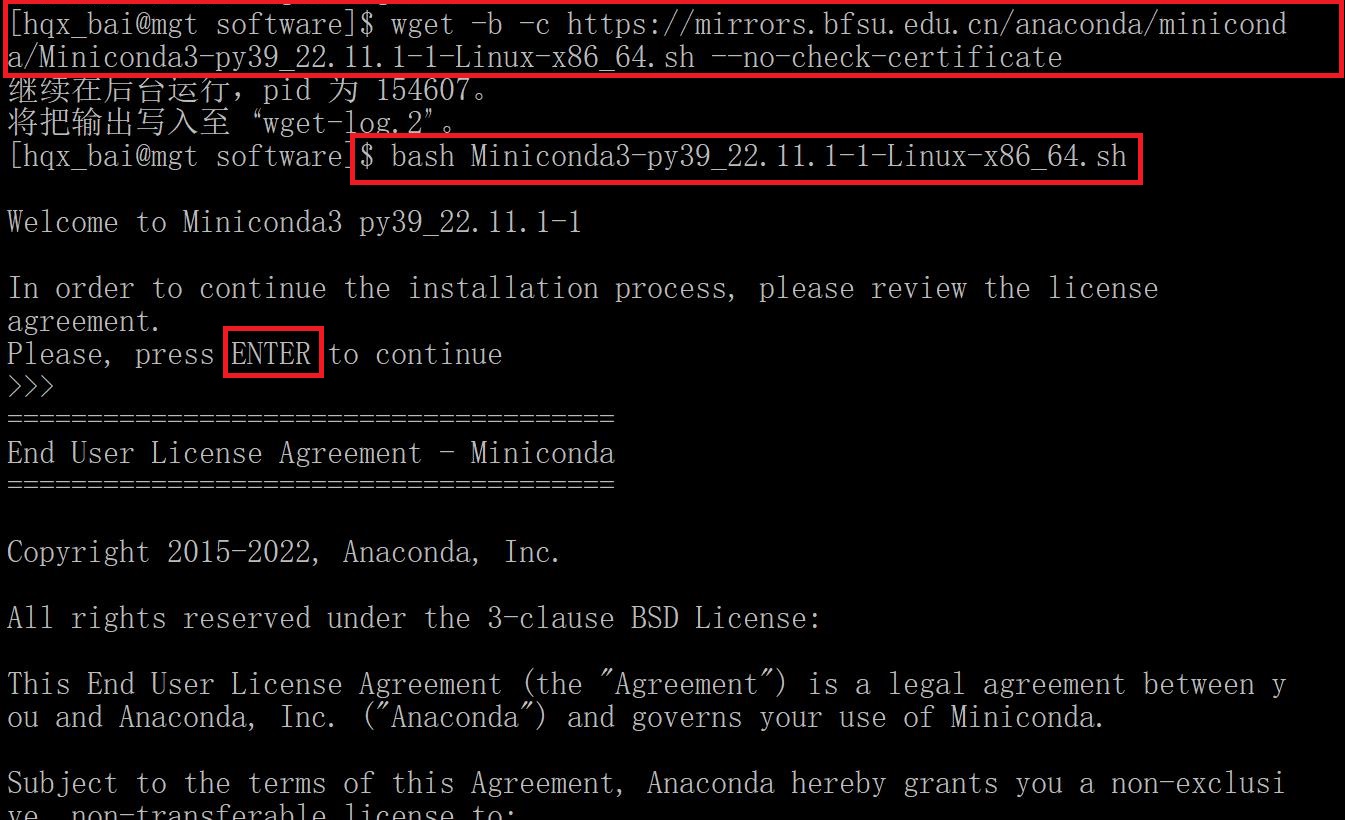
wget -b -c https://mirrors.bfsu.edu.cn/anaconda/miniconda/Miniconda3-py39_22.11.1-1-Linux-x86_64.sh
如果网站证书已过期,需要增加参数--no-check-certificate下载
wget -b -c https://mirrors.bfsu.edu.cn/anaconda/miniconda/Miniconda3-py39_22.11.1-1-Linux-x86_64.sh --no-check-certificate
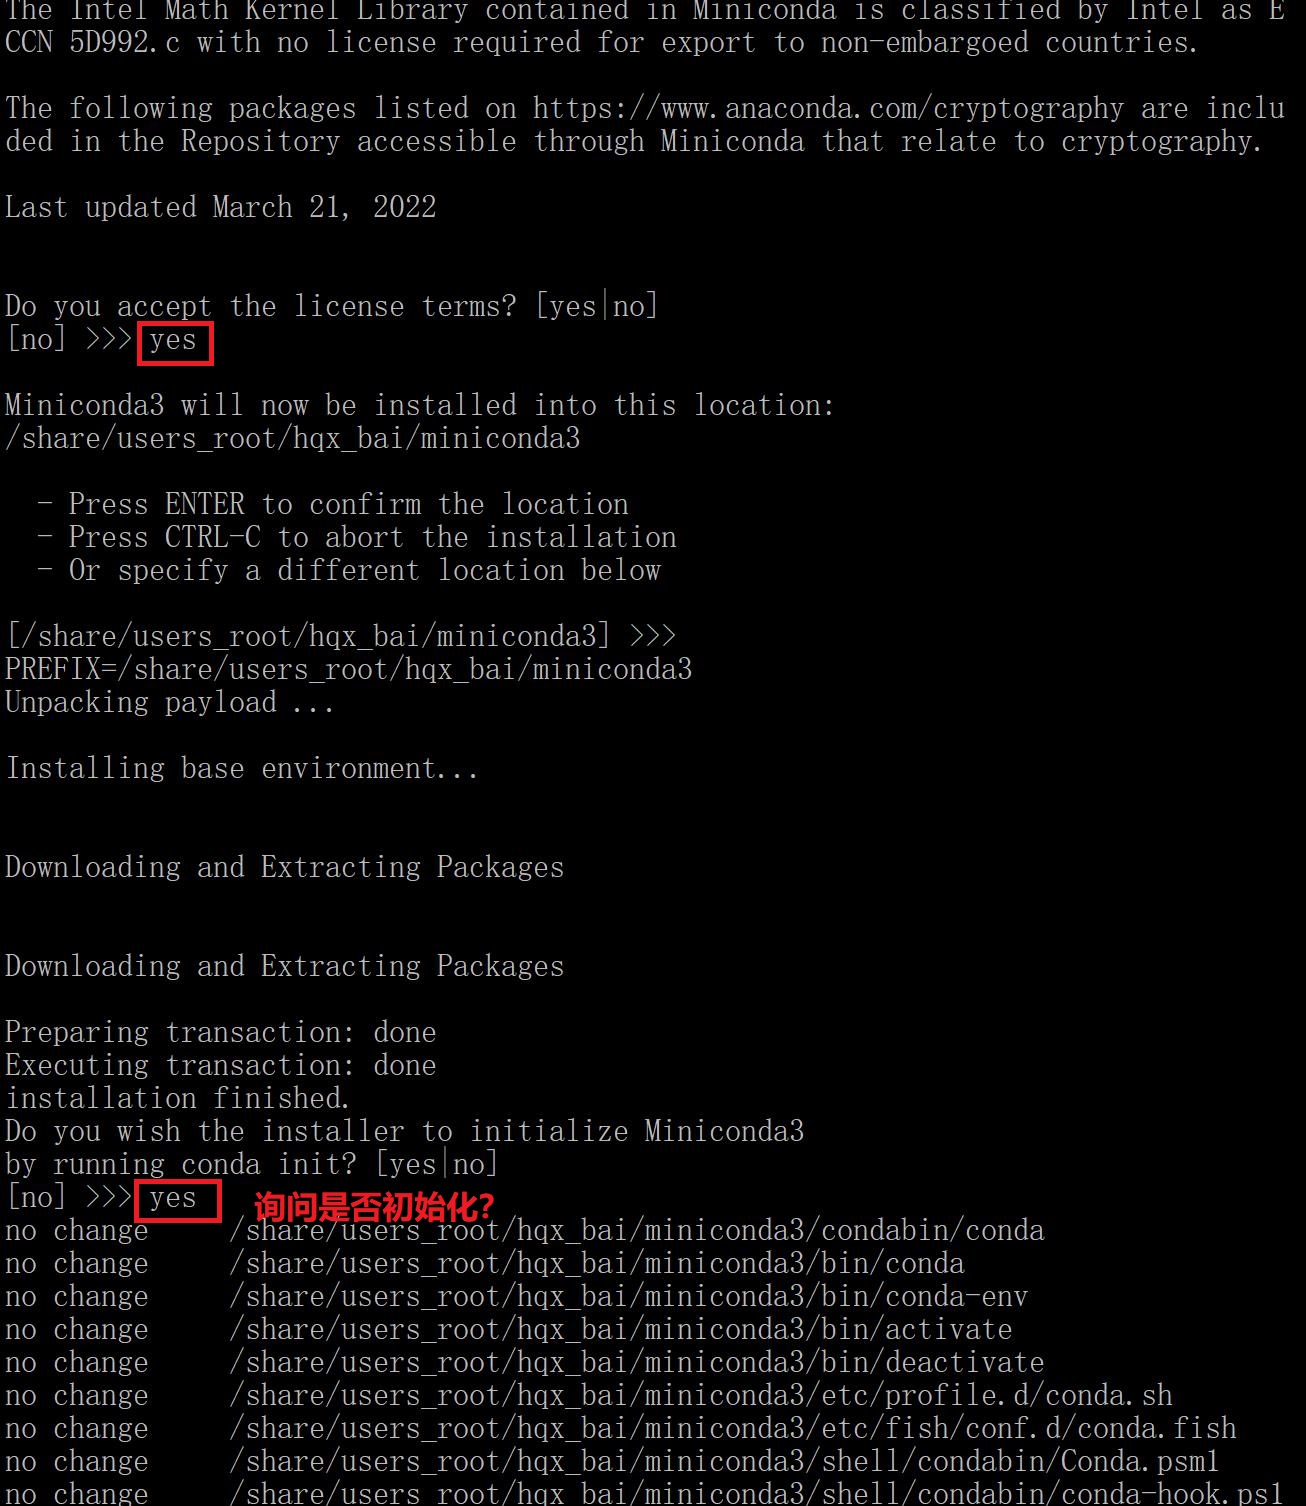
按照简书教程安装过程如下:

命令行前出现(base)解决方案:
1、一次性处理(退出命令行再打开还会出现)
conda deactivate
2、稳妥处理(取消自动激活后如果反悔还可以设置自动激活)
通过以下方式设置取消自动激活
conda config --set auto_activate_base false
如果反悔了还想要base一直留着的话可以使用以下语句来恢复
conda config --set auto_activate_base true
##关掉左上角的(base),运行以下两行代码
conda config --set auto_activate_base false
source ~/.bashrc
##不想关掉也没有关系
2、配置镜像
这一步很关键,如果不配置镜像安装会非常慢!
国内镜像网站:
清华大学: https://mirrors.tuna.tsinghua.edu.cn/help/anaconda/
北京外国语大学: https://mirrors.bfsu.edu.cn/help/anaconda/
上海交通大学: https://mirror.sjtu.edu.cn/
将一下命令直接拷贝到命令行执行
(1)配置清华大学的conda的channel地址
conda config --add channels https://mirrors.tuna.tsinghua.edu.cn/anaconda/pkgs/main/
conda config --add channels https://mirrors.tuna.tsinghua.edu.cn/anaconda/cloud/conda-forge/
conda config --set show_channel_urls yes
(2)配置北京外国语大学的conda的channel地址
conda config --add channels https://mirrors.bfsu.edu.cn/anaconda/pkgs/main/
conda config --add channels https://mirrors.bfsu.edu.cn/anaconda/cloud/conda-forge/
conda config --set show_channel_urls yes
配置镜像完成后,使用命令“ls -a”会发现有一个.condarc 文件。
使用命令“cat ~/.condarc”可查看里面的频道(channels)
# 查看镜像源
conda config --show-sources
# 从channel中安装包时显示包的来源
conda config --set show_channel_urls yes
# 安装时默认选择Yes,就不需要每个次都自己再Yes了
conda config --set always_yes yes
==================================================================================
# 清华源——仓库
conda config --add channels https://mirrors.tuna.tsinghua.edu.cn/anaconda/pkgs/free/
conda config --add channels https://mirrors.tuna.tsinghua.edu.cn/anaconda/pkgs/main/
conda config --add channels https://mirrors.bfsu.edu.cn/anaconda/pkgs/main/
conda config --add channels https://mirrors.bfsu.edu.cn/anaconda/cloud/conda-forge/
# 清华源——第三方源
conda config --add channels https://mirrors.tuna.tsinghua.edu.cn/anaconda/cloud/simpleitk
conda config --add channels https://mirrors.tuna.tsinghua.edu.cn/anaconda/cloud/pytorch-lts
conda config --add channels https://mirrors.tuna.tsinghua.edu.cn/anaconda/cloud/pytorch
conda config --add channels https://mirrors.tuna.tsinghua.edu.cn/anaconda/cloud/menpo
conda config --add channels https://mirrors.tuna.tsinghua.edu.cn/anaconda/cloud/msys2s
conda config --add channels https://mirrors.tuna.tsinghua.edu.cn/anaconda/cloud/conda-forge
conda config --add channels https://mirrors.tuna.tsinghua.edu.cn/anaconda/cloud/bioconda
# 清除索引,在更新源后建议清除一下索引
conda clean -i
添加镜像源地址参数-i
conda install python -i 后加镜像地址
# 删除镜像源
conda config --remove channels https://XXXXXXXXXXXX
# 换回默认镜像源
conda config --remove-key channels
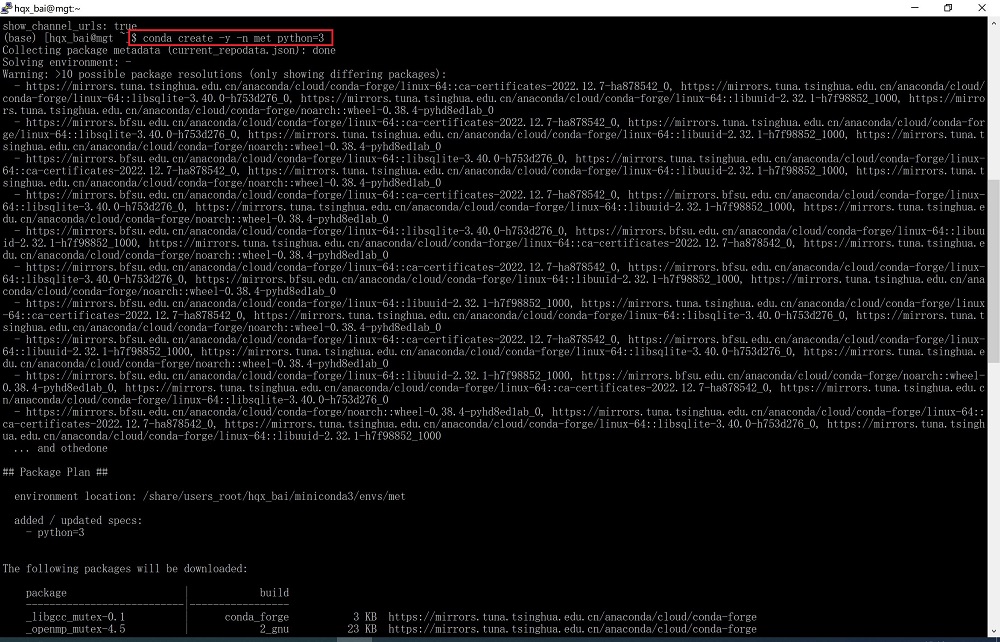
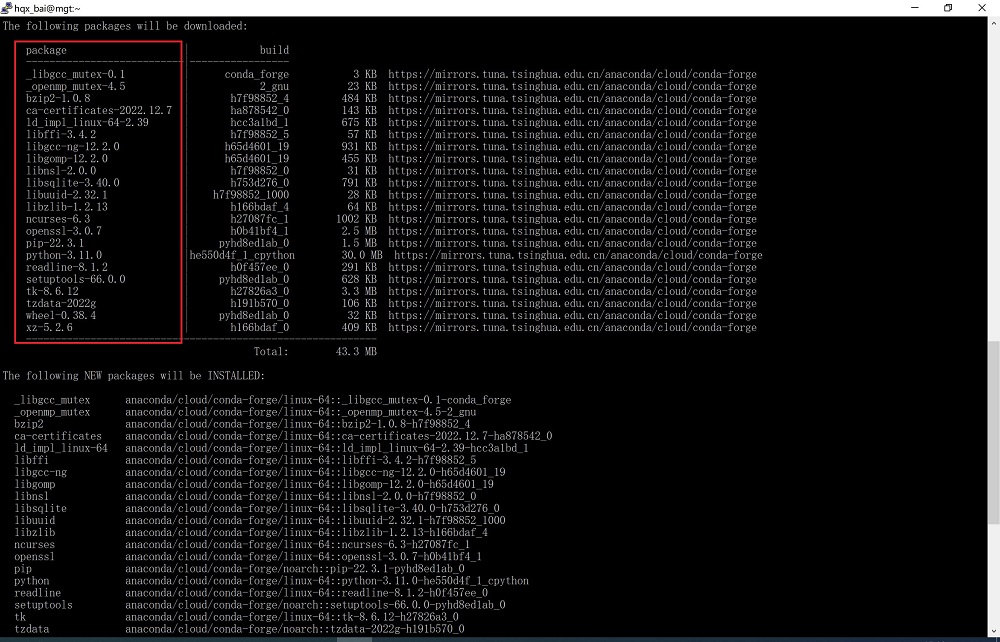
3、创建环境
conda create -y -n met python=3
创建名称(-n)为“met”的环境,并安装python3(系统默认安装最新的python版本)
conda命令:
查看conda环境:
conda info -e
# conda environments:
#
base * /share/users_root/hqx_bai/miniconda3
met /share/users_root/hqx_bai/miniconda3/envs/met
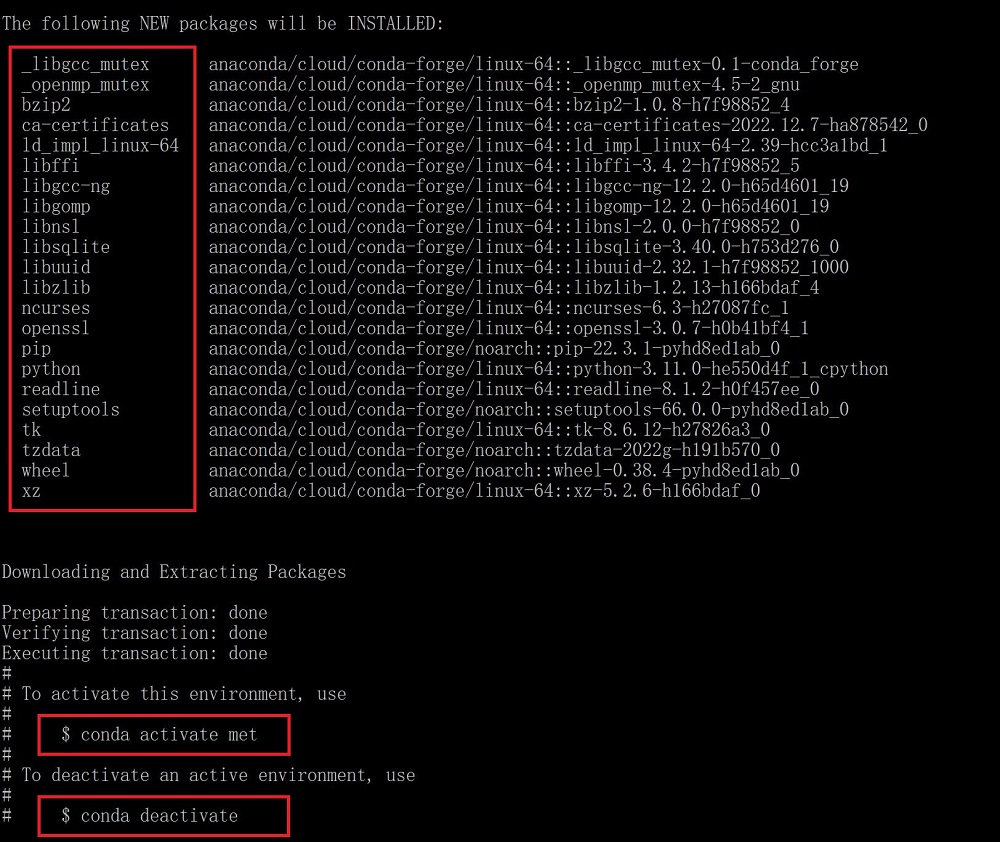
# 每次运行前,激活创建的小环境met
conda activate met
##激活成功会出现一个小括号(小环境名字,rna)
# 退出小环境
conda deactivate
查看已安装的软件:
conda list
conda list fast*
(比如很早就安装某个软件,如果只想起四个字母,用通配符的去查找)
conda list –n met
查看环境列表
conda env list
删除环境
conda env remove -n met
4、安装库
安装wrf-python: conda install -c conda-forge wrf-python (官网推荐命令)
conda install -y wrf-python (加上-y可以免输入y)
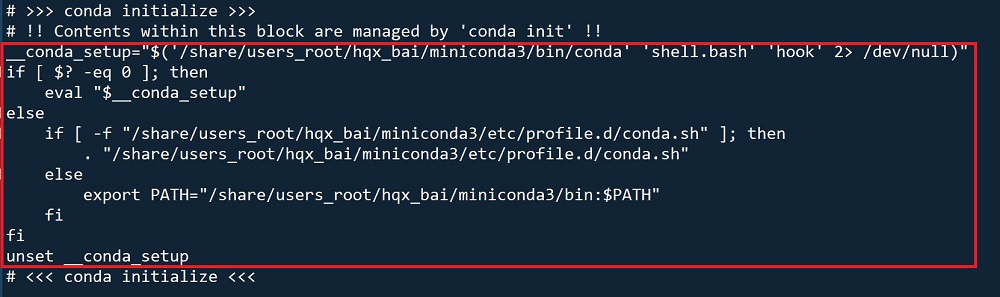
自动启动Conda
如果要自动启动python,直接conda activate met会报错。需要编辑bashrc文件(vim ~/.bashrc),从中将“conda initialize”之间的语句拷贝到sh文件(截图|例子)中。
Docker+Conda
在docker hub官网有miniconda3和anaconda3的镜像可拉:
docker pull continuumio/miniconda3
docker pull continuumio/anaconda3
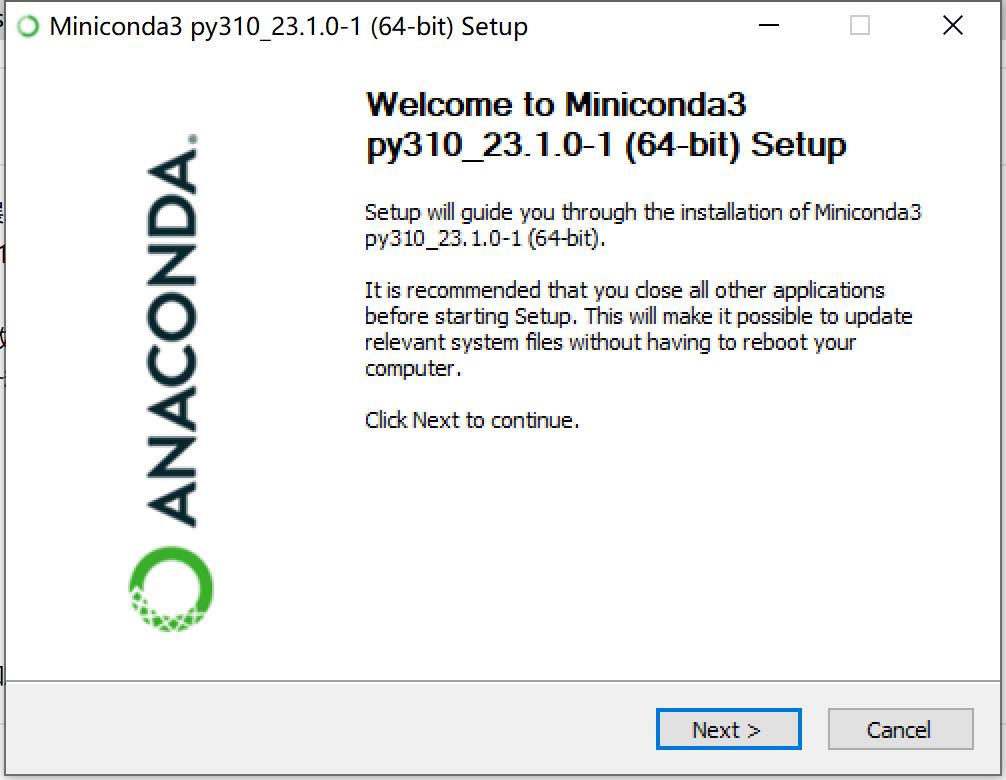
Windows下安装miniconda
1、下载安装文件
访问清华镜像地址,找到最新安装包:
Miniconda3-py310_23.1.0-1-Windows-x86_64.exe 53.2 MiB 2023-02-08 11:48
2、设置国内清华大学镜像
打开 anaconda powershell prompt,输入命令。这样你的下载源就不只有默认的一个了。
#添加镜像源
conda config --add channels https://mirrors.tuna.tsinghua.edu.cn/anaconda/pkgs/main
conda config --add channels https://mirrors.tuna.tsinghua.edu.cn/anaconda/pkgs/free
conda config --add channels https://mirrors.tuna.tsinghua.edu.cn/anaconda/pkgs/r
conda config --add channels https://mirrors.tuna.tsinghua.edu.cn/anaconda/pkgs/pro
conda config --add channels https://mirrors.tuna.tsinghua.edu.cn/anaconda/pkgs/msys2

conda config --add channels https://mirrors.bfsu.edu.cn/anaconda/pkgs/main/
conda config --add channels https://mirrors.bfsu.edu.cn/anaconda/cloud/conda-forge/
#显示检索路径
conda config --set show_channel_urls yes
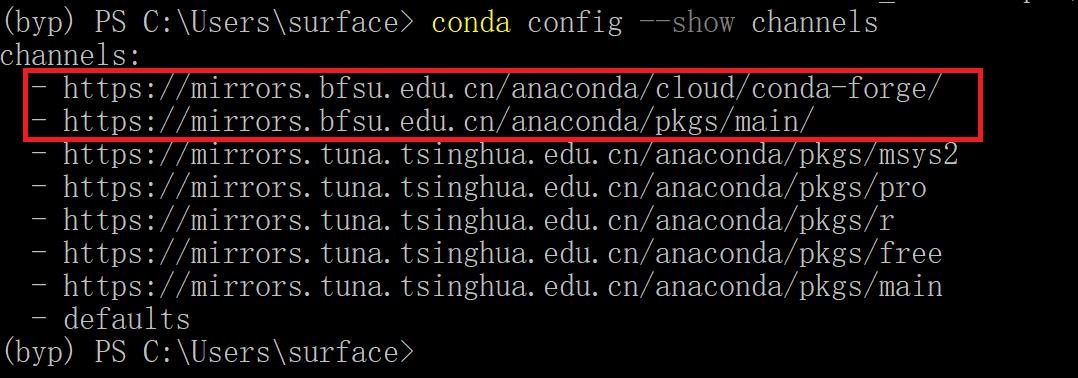
#显示镜像通道
conda config --show channels
3、创建新环境
conda create -n byp
也可以加上参数-y免输入y:
conda create -y -n met python=3

miniconda默认有一个环境Image:

更新conda: conda update -n base -c defaults conda

在docker使用conda出现python版本问题:SyntaxError: Non-ASCII character 'xe6' in file FY_4A_AGRI_DISK_L1_HDF_Channel_Single.py on line 6, but no encoding declared; see http://python.org/dev/peps/pep-0263/ for details

基于docker搭建conda深度学习环境(支持GPU加速)
Anaconda安装教程(带图文)及使用、配置指南含编辑器对比
Cannot find reference ‘XXX‘ in ‘_init_.py‘